

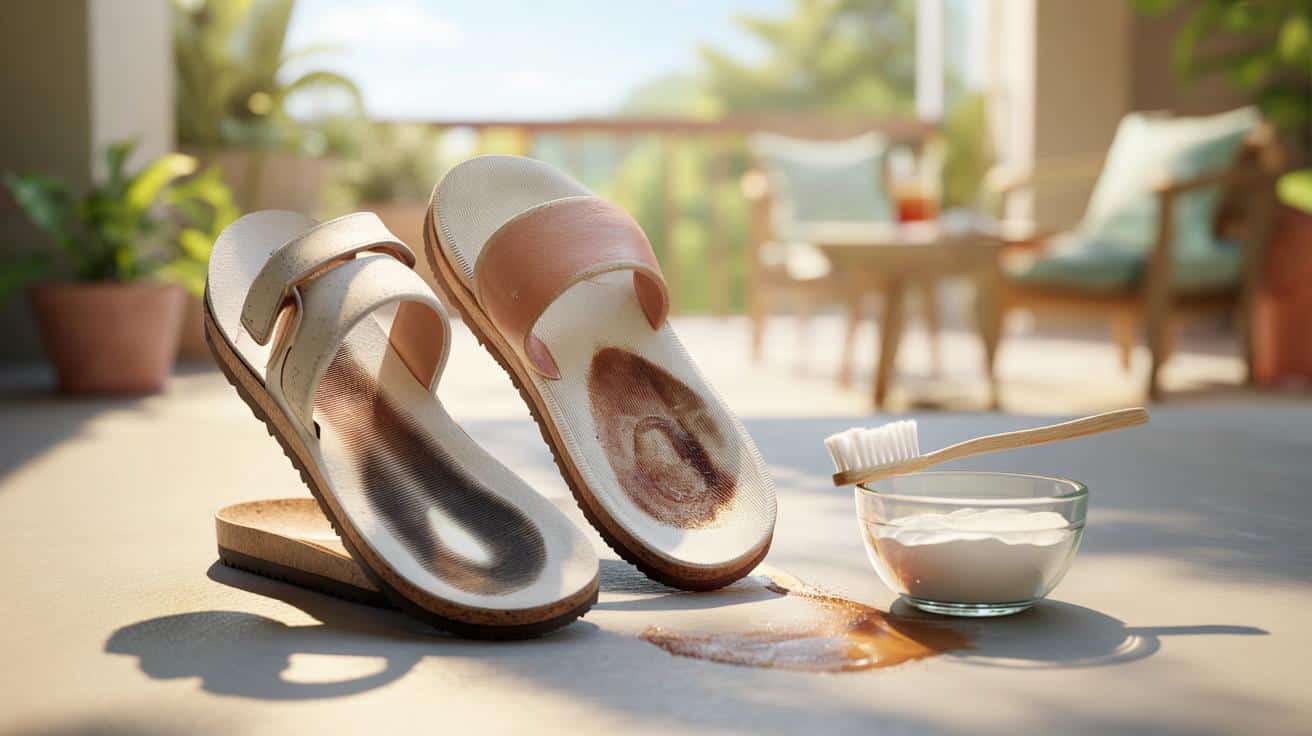
Seventeen-year-old Zoe grabbed her favorite pair of strappy sandals from the closet, ready for her first day at her summer job. But as she held them up, her heart sank. The footbeds were covered in dark, embarrassing imprints of her feet – every toe, every heel mark visible like a personal signature she definitely didn’t want to share with the world.
“Mom, I can’t wear these!” she called out, holding up the evidence of countless beach walks and summer adventures. Her mother glanced over and smiled knowingly. “Honey, I’ve got the perfect solution for that.”
What happened next changed everything Zoe thought she knew about sandal care – and it turns out, millions of sandal-wearers have been struggling with this exact same problem.
Why Your Favorite Sandals Betray You
Those dark footprint marks on your sandals aren’t just cosmetic embarrassments – they’re the result of a perfect storm of sweat, dead skin cells, oils from your feet, and everyday dirt combining with the materials in your sandal footbeds. Whether you’re wearing leather, cork, rubber, or fabric sandals, this buildup is inevitable with regular wear.
The problem becomes especially noticeable on lighter-colored sandals, but even dark ones can develop a grimy, discolored appearance that screams “well-worn” rather than “well-loved.” And here’s the kicker: most people think these marks are permanent.
The biggest mistake I see people make is assuming their sandals are ruined once those footprints appear. With the right approach, you can make even heavily marked sandals look practically new again.
— Dr. Patricia Williams, Footwear Care Specialist
The good news? There’s a surprisingly simple trick that works across different sandal materials, and you probably already have everything you need sitting in your kitchen or bathroom cabinet.
The Game-Changing Magic Eraser Method
The secret weapon against stubborn footprint marks is something you’ve likely used for wall scuffs and kitchen stains: a magic eraser (melamine foam sponge). But the technique matters just as much as the tool itself.
Here’s exactly how to restore your sandals to their former glory:
- Start with slightly damp magic eraser – not soaking wet, just barely moist
- Test on a small, hidden area first to ensure it won’t damage the material
- Gently rub in circular motions over the footprint marks
- Work in small sections rather than trying to clean the entire footbed at once
- Rinse with a clean, damp cloth to remove any residue
- Let air dry completely before wearing
I was skeptical when my daughter suggested this method, but it completely transformed my expensive leather sandals. The footprints that had been there for months just disappeared.
— Maria Santos, Fashion Blogger
For particularly stubborn marks, you can create a paste using baking soda and water, apply it to the marks, let it sit for 10-15 minutes, then follow up with the magic eraser technique.
| Sandal Material | Best Method | Precautions |
|---|---|---|
| Leather | Magic eraser + leather conditioner after | Use gentle pressure only |
| Cork | Magic eraser + cork sealant if needed | Don’t oversaturate |
| Rubber/EVA | Magic eraser + soap solution | Most durable option |
| Fabric | Gentle detergent + magic eraser | Test colorfastness first |
Alternative Solutions That Actually Work
If you don’t have magic erasers on hand, several household items can tackle those unsightly footprints with impressive results.
The Toothpaste Method: Use non-gel, whitening toothpaste as a mild abrasive. Apply with an old toothbrush, scrub gently, and rinse clean. This works particularly well on rubber and synthetic materials.
The Vinegar Solution: Mix equal parts white vinegar and water, apply with a cloth, and let sit for five minutes before scrubbing with a soft brush. This method excels at breaking down the oils and bacteria that create those dark marks.
The Nail Polish Remover Trick: For synthetic materials only, a small amount of acetone-based nail polish remover on a cotton ball can dissolve stubborn marks. Always test first and use sparingly.
The key is matching your cleaning method to your sandal material. What works beautifully on rubber might damage leather, so always start gentle and work your way up.
— James Rodriguez, Shoe Repair Expert
Preventing Future Footprint Disasters
Once you’ve restored your sandals to their pristine condition, keeping them that way is surprisingly straightforward. The secret lies in creating barriers and maintaining regular cleaning habits.
Foot Powder is Your Friend: A light dusting of foot powder before wearing your sandals can absorb moisture and oils before they have a chance to create permanent marks.
The Weekly Wipe-Down: Spend just 30 seconds after each wear wiping down your sandal footbeds with a slightly damp cloth. This prevents buildup from becoming embedded.
Rotate Your Pairs: Giving sandals time to completely dry between wears prevents the moist environment that accelerates marking and bacterial growth.
Some sandal enthusiasts swear by applying a thin layer of clear nail polish to new sandals as a protective barrier, though this works best on synthetic materials rather than natural ones like leather or cork.
When Professional Help Makes Sense
While these DIY methods work remarkably well for most situations, expensive designer sandals or vintage pieces might warrant professional attention. Shoe repair shops have access to specialized cleaning solutions and restoration techniques that can handle even the most challenging cases.
I’ve seen people throw away $200 sandals because of footprint marks that would take me ten minutes to remove professionally. Sometimes it’s worth the investment to have them properly restored.
— Angela Chen, Professional Cobbler
The cost of professional sandal cleaning typically ranges from $15-30, which is a fraction of replacing quality footwear.
FAQs
Will magic erasers damage my expensive leather sandals?
When used gently with minimal moisture, magic erasers are safe for most leather sandals, but always test on a hidden area first and follow up with leather conditioner.
How often should I clean my sandals to prevent footprint marks?
A quick wipe-down after each wear and a thorough cleaning weekly during heavy use seasons will prevent most marking issues.
Can I use bleach to remove dark footprints?
Avoid bleach as it can damage most sandal materials and cause discoloration. Stick to gentler methods like magic erasers or vinegar solutions.
Why do some people’s feet leave darker marks than others?
Factors like foot moisture levels, skin oil production, and even diet can affect how quickly and darkly footprint marks develop on sandals.
Is it normal for new sandals to show footprints immediately?
Light-colored and smooth-surfaced sandals may show marks after just a few wears, which is completely normal and easily remedied with these cleaning methods.
Can I prevent footprint marks entirely?
While you can’t prevent them completely, regular cleaning, foot powder, and rotating between multiple pairs can minimize their appearance significantly.

Leave a Reply